Friday, December 18, 2009

First Married Christmas: Cards!

I'm hoping that most of you have received your Christmas cards from us by now...and if you haven't--my apologies!

I realized about half way through the process that this project was becoming wedding invitation scale...and I didn't have the time or the cash money to do that. (but Paper Source was calling my name)
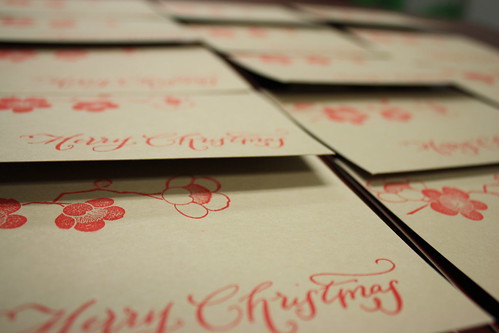
SO I chopped the list after sending out approximately 55 Christmas cards. yipes.

I took a lovely shopping trip with a friend, Kylee, to Paper Source last month.  It's the first time I've been to the store and i was in love!  I spent a bit more money than planned but also got some supplies that will last me a while!


Supplies:
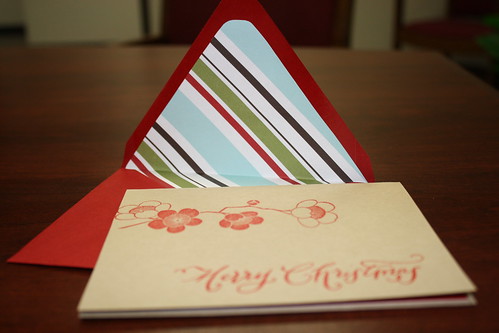
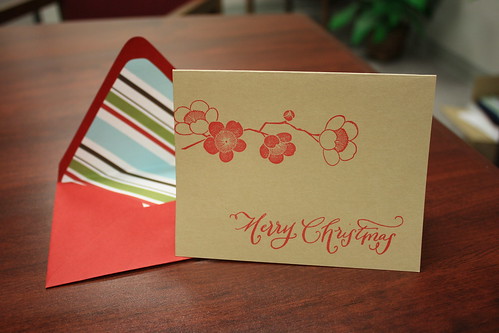
Cherry Blossom and Merry Christmas stamps from Paper Source
3 10 packs of khaki cover weight paper
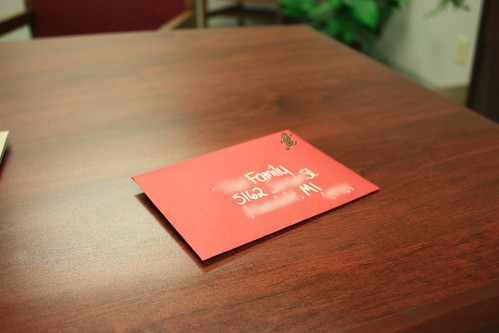
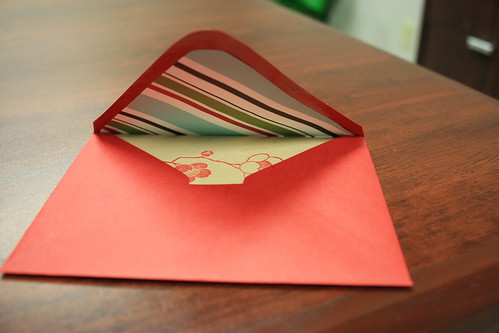
6 10 packs of red envelopes
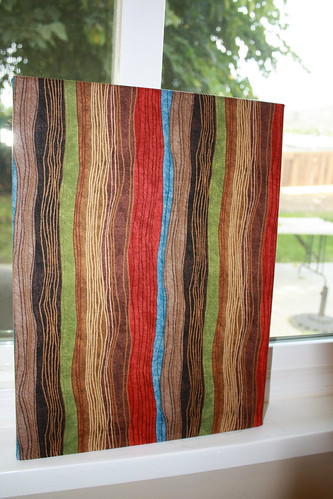
1 roll + 1 sheet of wrapping paper
70 4 x 6 collage photo prints, trimmed to 4 x 5.4
red ink pad
glue stick
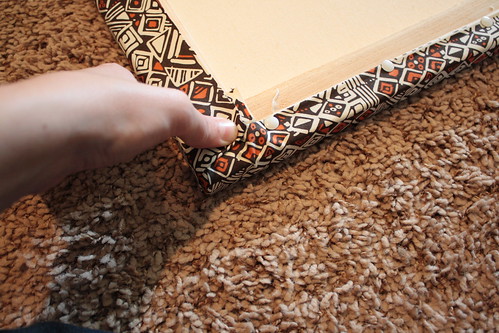
homemade envelope liner template

And yes, i realize that a couple's first Christmas cards are a prime place to show off all those wonderful wedding portraits...but we also went to Italy this year and we wanted to include both!

[By the way, if you're really interested in seeing all of our wedding and honeymoon photos you may have to come and visit in about 3 months when I have the albums finished!]

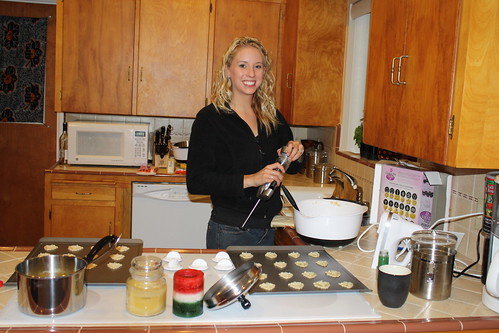
As I was stamping, gluing and cutting, (and Eric was studying)

IMG_0192

I watched some Christmas classics [any guesses?]


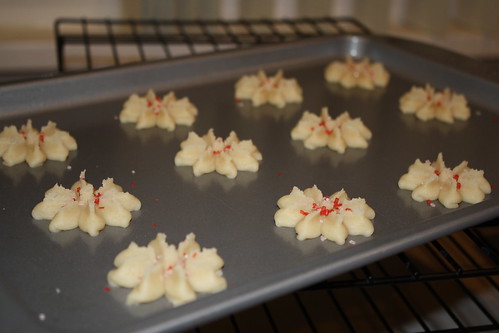
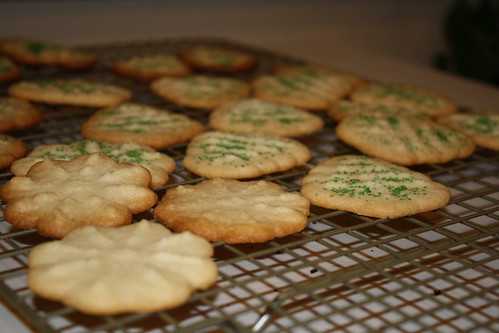
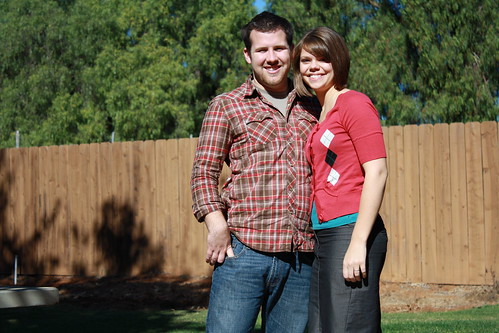
And here are the results!

IMG_0181


IMG_0184


IMG_0186

IMG_0187


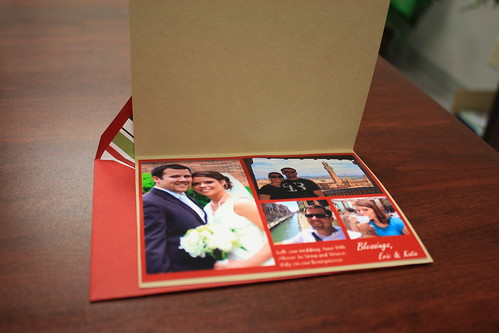
Even on this blog, got to protect the privacy. :-)


IMG_0189

Wednesday, December 16, 2009

First Married Christmas: Baking!

I have so much more to post about when I have a camera!

Between borrowing a camera from work over the weekend, and finding Eric's old camera...we're making do (for now. a camera is still on my Christmas list!)

Last week I had two seminary wives over, Kelli (from DeMotte, IN!) and Rosanna(from Alberta/B.C. Canada) to do some christmas baking.

We had a blast and make dozens and dozens of goodies in 5 hours.

butter cookies:
IMG_0197

kelli loved making them with the cookie shooter from Gram
IMG_0195

IMG_0196

While Rosanna worked on the gingersnaps. Oh heart. I love gingersnaps. Crunchy on the outside, chewy on the inside. Spice enough to woo a girl. yummo.

IMG_0194

IMG_0199

And here's what my kitchen looked like all night:

IMG_0201

IMG_0202

coconut balls, fannie mae mint bards, almond bars, cookies.  We had quite the spread!

disclaimer: this was taken after 11pm on a work night...after 5 hours of baking. The b&w will soften the blow.

IMG_0205

Tuesday, December 15, 2009

DIY Decor: Bedroom

This concludes last month's little house projects, but I have one more to share with you.

About the same time I picked up the fabric for this project and this project, I also purchased some Asian-looking fabric that correspond with the blues and grays theme in our bedroom, while adding an element of red. I wasn't sure how it was all going to end up, but I just bought for a rainy day.

A few weeks ago, I visited the local Goodwill and picked up some cheap frames (6 for around $10) and a can of black spray paint.

Unfortunately, I didn't take any before pictures...so I'll just list the steps and then show you the result!

I sanded down all the frames and spray painted them with three coats of paint over two days. While they were drying, I ironed the fabric and cut it around the cardboard backing.

Instead of tacking the fabric down (the cardboard was too thin) I just taped the back, placed it in the frame, then replaced the backing.

Here is how one turned out:

IMG_0175

and how they look in our bedroom! (they slight crookedness in this picture has been all adjusted...I promise it's not as bad as it looks!)

IMG_0179

IMG_0178

I love having something on our bedroom walls!

Saturday, December 12, 2009

While I'm at it...

I bought a couple of scraps, and used the extra fabric for some bulletin board space on the wall above our little built in kitchen desk.

I bought a set of 4 thin cork boards, and got a 8 x 11 bulletin board from the thrift store and covered them with more material.

Now I use them to hold letters, business cards, coupons, etc at my desk!

IMG_0094

IMG_0091
(still have plans to paint the frame)

Coming soon: our meager christmas decoration and christmas baking!

Friday, December 11, 2009

DIY Decor: kitchen canvas'

I'm going to try share these projects one at a time so you can see the progress of turning our little [rental] house we love, into a home.

Our budget is minimal, our time is limited, our creativity is lacking, but I'm plugging away!

Shortly after we moved in, we took a trip to Ikea to get bookshelves.  While at Ikea I saw an idea in their little room setups that inspired me to decorate our kitchen.


So, months later, we visited JoAnn Fabrics and picked out a couple favorites.
We bought three canvas' from Michael's--24 x 32 I believe, and then one smaller one, about 14 x 18.

Here's how make a cheap, easy wall decoration to brighten up any room!

First, iron your fabric

IMG_0103

lay the canvas upside down on the upside down fabric and cut roughly with 2-3 inches on each side.

IMG_0106

Carefully fold over about 1/2 inch of the fabric

IMG_0108

and fold it up to the canvas frame:

IMG_0110

Place a thumb tack


IMG_0111

The rest is easy...continue folding and tacking about every 3-4 inches.

...until you come to a corner!

IMG_0112

By trial and error I figured out the best way to tack the corner so watch carefully:

Take the point of the corner and draw it up directly over the middle of the corner point of the frame

IMG_0113

IMG_0114

Now take the little flap on the right side and fold it down straight

IMG_0115

then fold and pull over the left side straight up as well

IMG_0116

and tack at least twice

IMG_0117

repeat around all side...making sure to pull the fourth side HARD before tacking up (you want that baby taught)

and this is what you get!

IMG_0097

And then repeat all of those steps twice more, hang them on your empty looking kitchen wall, and enjoy some color!

IMG_0120

IMG_0119

Tuesday, December 1, 2009

How to make an apple pie:

Peel 4 apples

IMG_0072

and chop

IMG_0073

until you get this:
IMG_0071

slice each wedge into 3-4 pieces:

IMG_0074

pour 1 tbsp of lemon juice over and set aside:
IMG_0077

In a separate bowl mix 1 tsp cinnamon, 3/4 c sugar, 2 tbls flour, and a dash of salt

IMG_0075

toss with apples
IMG_0078

press pie crust into pie pan and flute the edges by pinching a little bit of dough on the outside and pressing your finger in the pinch from the inside
IMG_0082
(*secret confession: this is actually my cherry pie crust)

Then blend 1/3 c butter, 1/3 c firmly packed brown sugar, and 2/3 c flour until crumbly.

Pour apple mixture into crust
IMG_0079

Followed by crumble topping

IMG_0081

Bake at 400 degrees for 40-45 minutes

IMG_0087

Enjoy!
IMG_0085

For best results, serve warm with a huge scoop of vanilla ice cream.


Happy Belated Thanksgiving from bright and sunny California!

IMG_0090
Related Posts with Thumbnails